Published: October 11, 2014 Author: JasonDarkX2 Category: Tech,Tutorials
Just before starting, here are some requirements to pull this off:
- Firstly, a Windows 7 installation disc of your choice (i.e home premium, professional, ultimate).
- Secondly, backups of your data if you’re downgrading from Windows 8.1.
DISCLAIMER: The usual “I do not take responsibility” for anything that happens to your device(s) while following this tutorial. I will assume if you are reading this tutorial, you have basic knowledge of how these stuff work. Otherwise, consult a trained professional or at least someone you know and trust 😀
Therefore, without any further due, what is UFEI and how do I determine if my device is running UFEI? Well to start UEFI stands for Unified Extensible Firmware Interface and it is the industry modernization of the booting process of our PCs. While the legacy BIOS is still support for Legacy application such as Windows 7, Vista, and Windows XP etc. Therefore, most likely any device in the late 2013 with Windows 8 will be using UEFI.
1.) In order to install Windows 7 and or older Windows OS on newer devices you will need to set your device to use legacy BIOS instead of UFEI. Simply start by getting into your device BIOS configuration menu. In most case, hitting F2 at POST will go into the BIOS unless your POST screen specify otherwise.
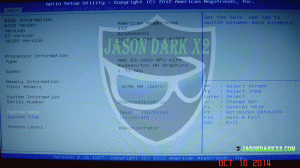 BIOS menu
 2.) Next what you want to do is head over to the security tab. Set Secure Boot Control to disable. Save changes and exit, reboot computer and get back into your BIOS for next step.
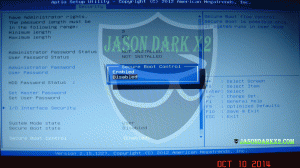 disable secure boot
3.) Once back in the BIOS head over to the Boot tab. Disable Fast boot and enable Launch CSM. Save change and exit once more. Return into your BIOS for next step
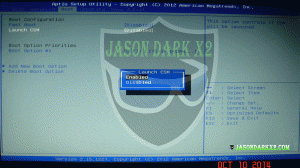 disable fast boot and Enable CSM
4.) One last step in your BIOS is to set your Boot order to the Disk drive you have your windows 7 installation disk in to first. Save changes and exit.
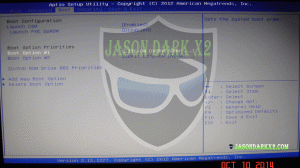 Set boot order to disk drive
5.) Once saved, you will now be able to boot Windows 7 installation disc when prompt to boot from CD. Once in the Windows 7 install language screen what you need to do next is hit Shift + F10 to bring up the command prompt.
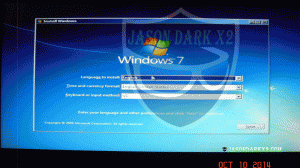 Windows install screen
 6.) Once the command prompt appears, enter diskpart.
7.) One diskpart launches enter 'list disk’ without quotes of course. This will show you a list of your install hard drive disks.
8.) Once determined which disk you want to install windows enter select disk ## replace ## with your disk number.
9.) Then enter clean.
10.) Once clean is successful enter convert mbr.
11.) Next enter create partition primary.
12.) Then enter, select partition 1.
13.) Lastly enter, format fs=ntfs quick
14.) Once format is completed type exit to get out of diskpart. Reboot computer and install Windows 7 normally that’s it.
Easy eh? I hope this tutorial helps you downgrade 8.1 and or install windows 7 on UEFI machines. Have questions? feel free hit up the comments section or contact me.
Tags:
Microsoft Windows,
tech tutorial,
Windows 8,
windows 8.1,
Windows OS,
Windows tutorial